


WaterHog® Max Tiles
WHOGECOT14-BK-DIM
Regular price$345.00
- Scalable flooring for large indoor and outdoor spaces
- With bi-level surface that traps dirt and moisture, preventing tracking
- Made eco-friendly from at least 90% recycled content
Are you 18 years old or older?
Sorry, the content of this store can't be seen by a younger audience. Come back when you're older.
WHOGECOT14-BK-DIM
WaterHog® Max Tiles are designed to provide scalable flooring solutions for large areas. Available in 3 patterns: diamond, diagonal, or geometric
Bi-level surface effectively scrapes dirt and moisture from shoes, trapping it beneath shoe level to prevent tracking. Reinforced rubber nubs prevent pile from crushing and extend the performance life of the mat. Solution-dyed PET fabric is resistant to staining, and dries quickly. This mat is also rot and fade-resistant.
Available Size:
18" x 18" x 1/4" (12 tiles/case)
*Please note, mat sizes are approximate as rubber shrinks and expands in conjunction with temperature and time. The tolerable manufacturing size variance is 3-5%.
SURFACE
|
Fiber |
Solution-dyed PET (polyethylene terephthalate) |
|
Weight |
30 ounces/yard2 |
|
Construction |
Needle-punched |
|
Design |
Diamond, Diagonal, or Geometric |
|
|
BACKING
|
Material |
SBR rubber - universal cleated |
|
Thickness |
100-mil or 200-mil |
OVERALL TILE THICKNESS
100-mil tiles: 1/4 inch (0.2500")
STANDARDS & TESTING
For the best results, utilize the following cleaning method to clean your WaterHog® Max Tiles:
Always make sure the mat is dry before placing it back in service.
Determine the Number of Tiles You Will Need
Prepare for Installation
Layout Your Grid
Install the Tiles
Trim/Fit the Perimeter Tiles
After you have placed all the full tiles, the perimeter tiles must be accurately marked and cut to fit snug against the side.
WaterHog Eco Tiles feature an eco-conscious PET material that offers a sustainable and environmentally friendly flooring solution.
Made from recycled and recyclable PET fiber, these tiles contribute to reducing environmental impact while providing exceptional performance.
Create functional and beautiful spaces with WaterHog® Max Tiles.
These innovative flooring solutions offer a sustainable and eco-friendly option for transforming any area.
By choosing WaterHog Eco Tiles, you are making a green choice for your flooring needs.
✅ Dance Floors
✅ Outdoor Event Venues
✅ Reception Areas
✅ Garden area
Made to Impress
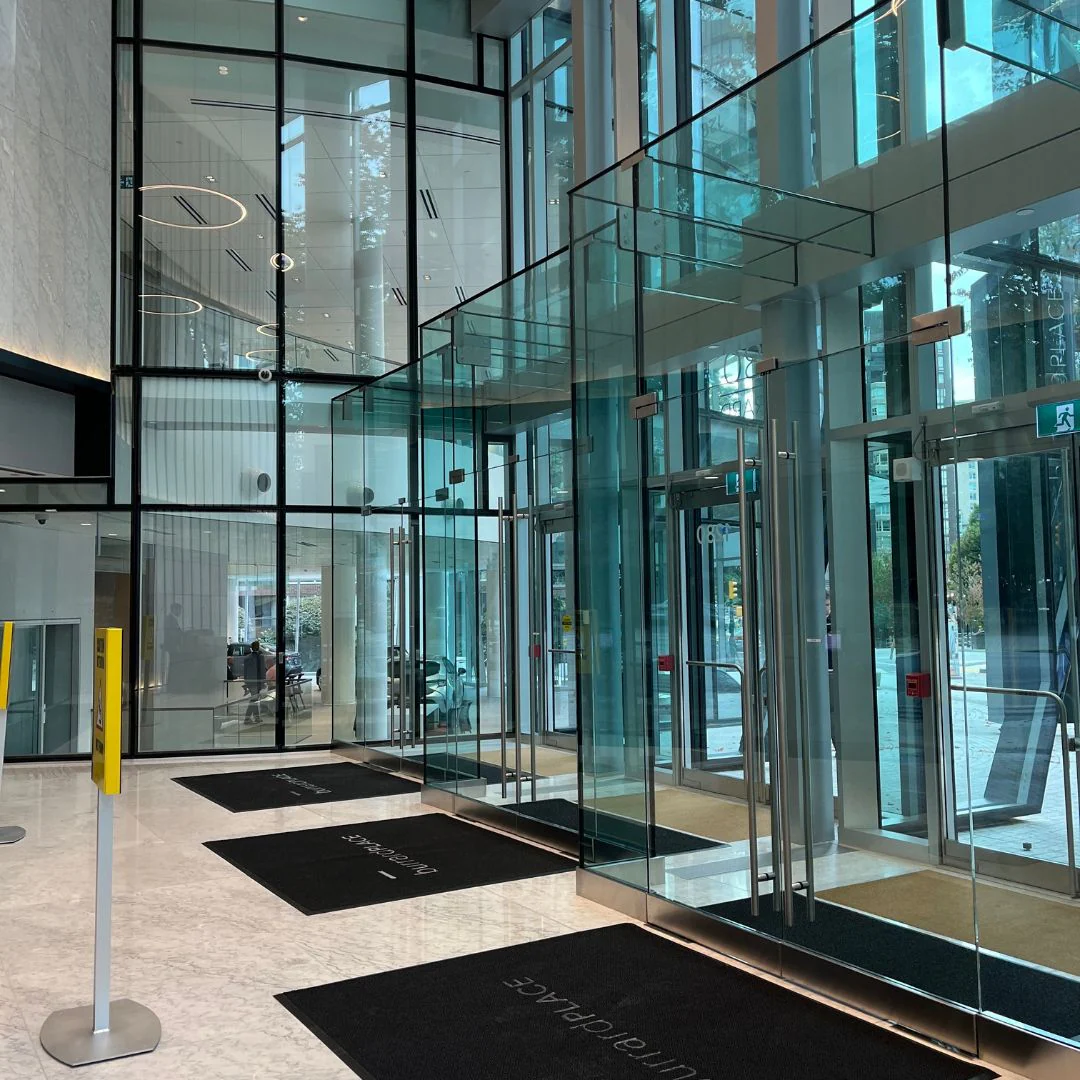
Entrance Mats
Experience the perfect combination of style and functionality with our flagship entrance mats. These mats are made with top-grade materials that not only create an aesthetically pleasing entrance but also excel in keeping areas clean.
Sourced and designed to last in Canada, these mats stand up to the heaviest of usage.
Entrances such as the Vancouver Waterfront Station that sees millions of people walk through their doors each day, have now used Canada Mats to protect their floor for many years.


