


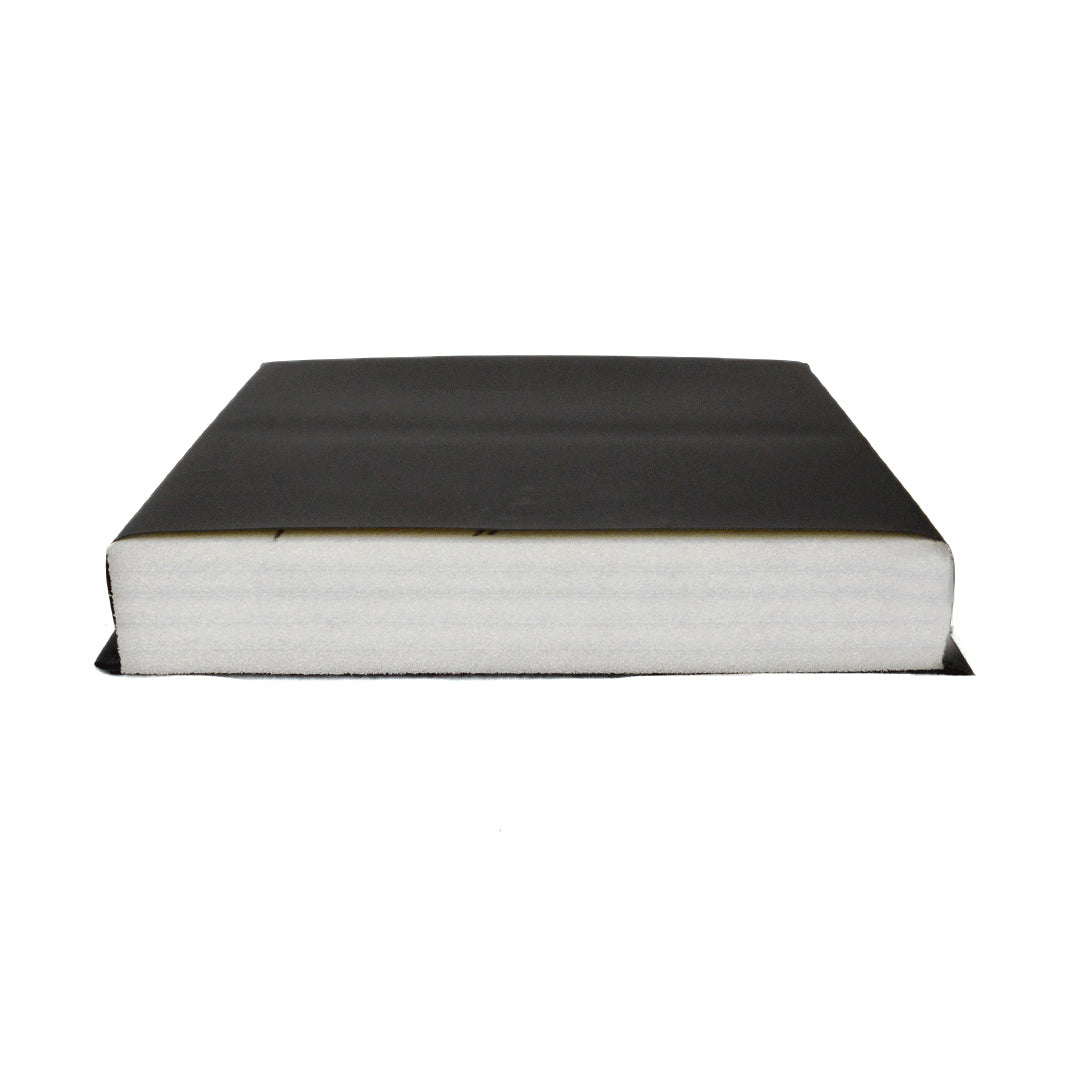
Sport Wall Pads
WP72512-BK
Regular price$140.00
Estimated to Ship by: Jun 27 - Jul 25
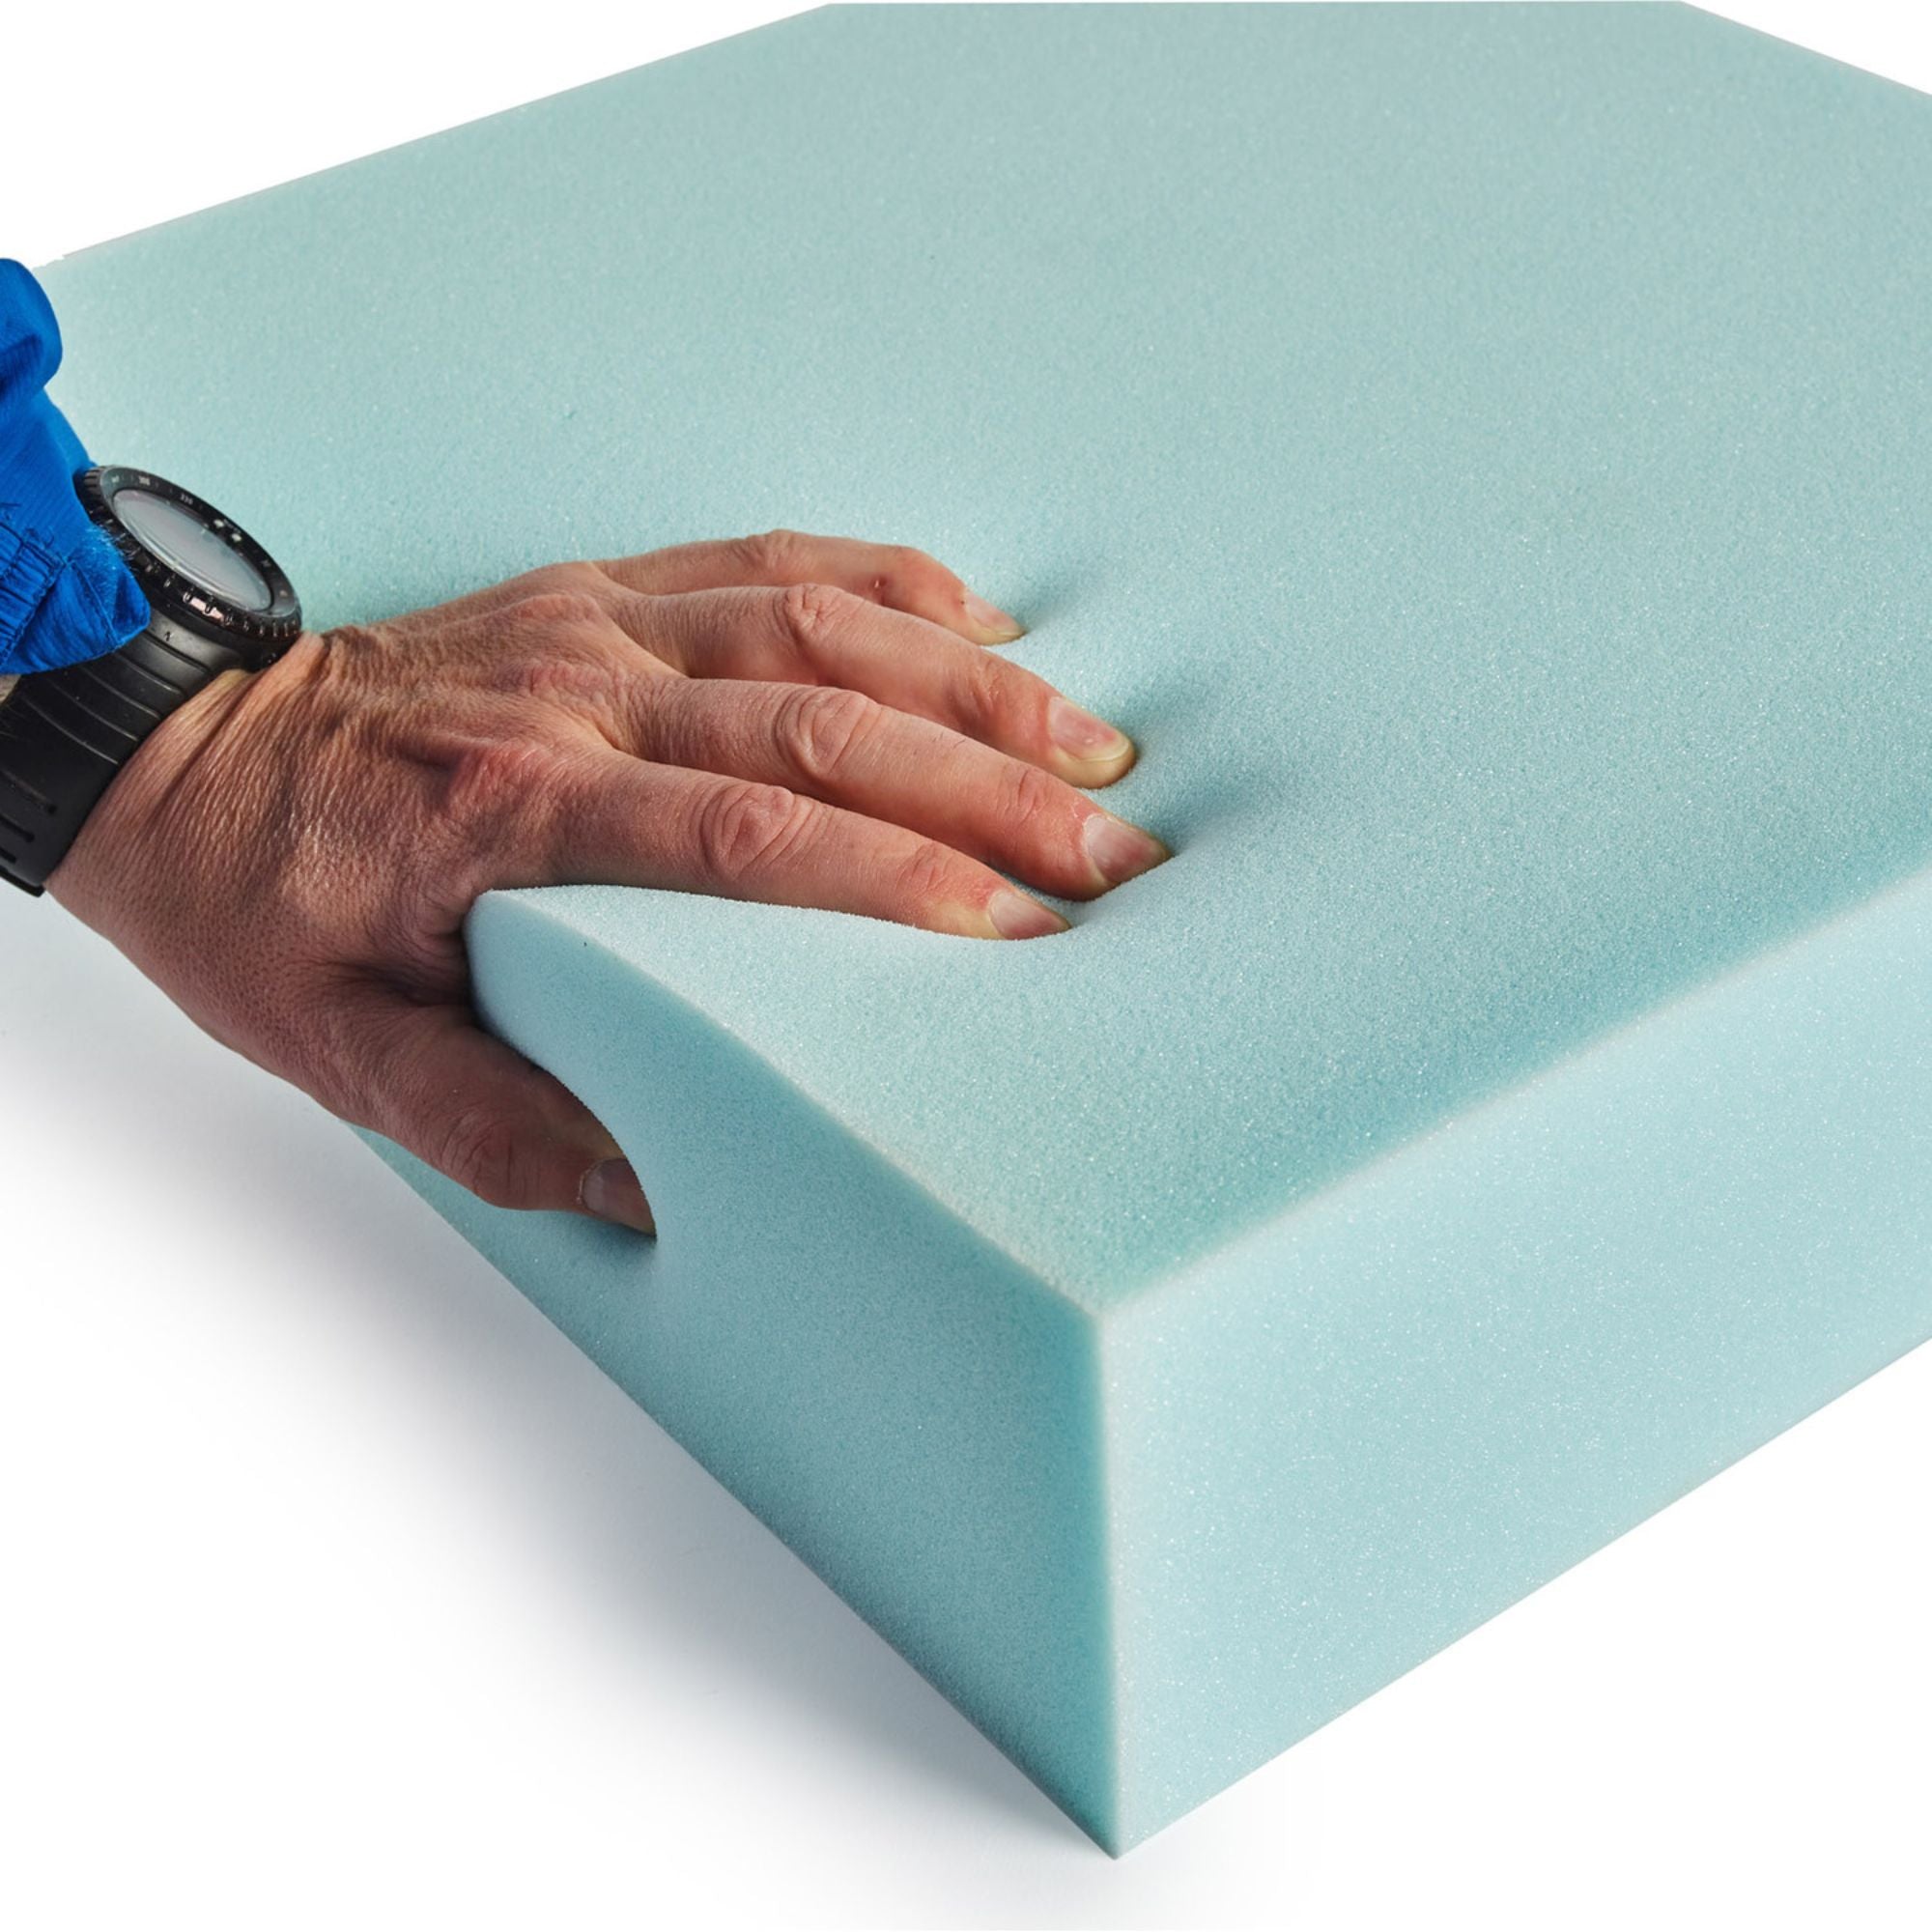
- Reduces injury risk during intense play or high impact sports
- Antibacterial and water-resistant surface
- Ideal for gyms, courts, and martial arts studios
Heavy & Large Item handling surcharge applied at checkout for this item.
)
)


